-40%
Assembled 1x10 12 Guitar & bass amp speaker cabinet wiring harness Plug & Play
$ 6.6
- Description
- Size Guide
Description
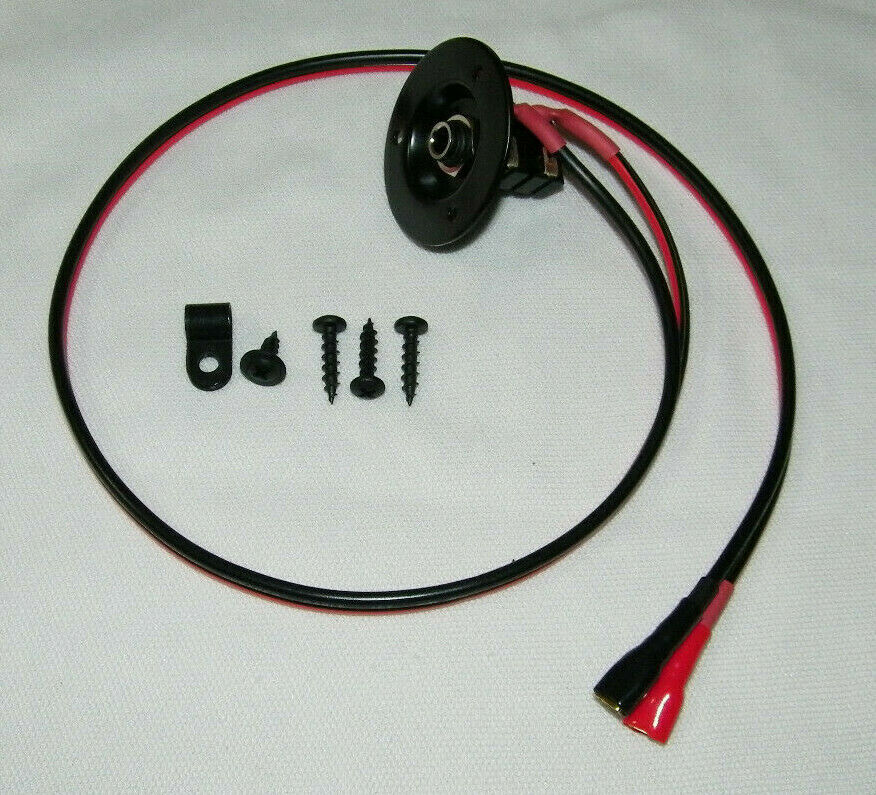
The EarCandy MIL SPEC 1× wiring harnesskit
Ships within the 48 US states only
Hand made in our facility in Indiana USA with all American made materials.
Fully Assembled, no assembly or soldering required on your part.
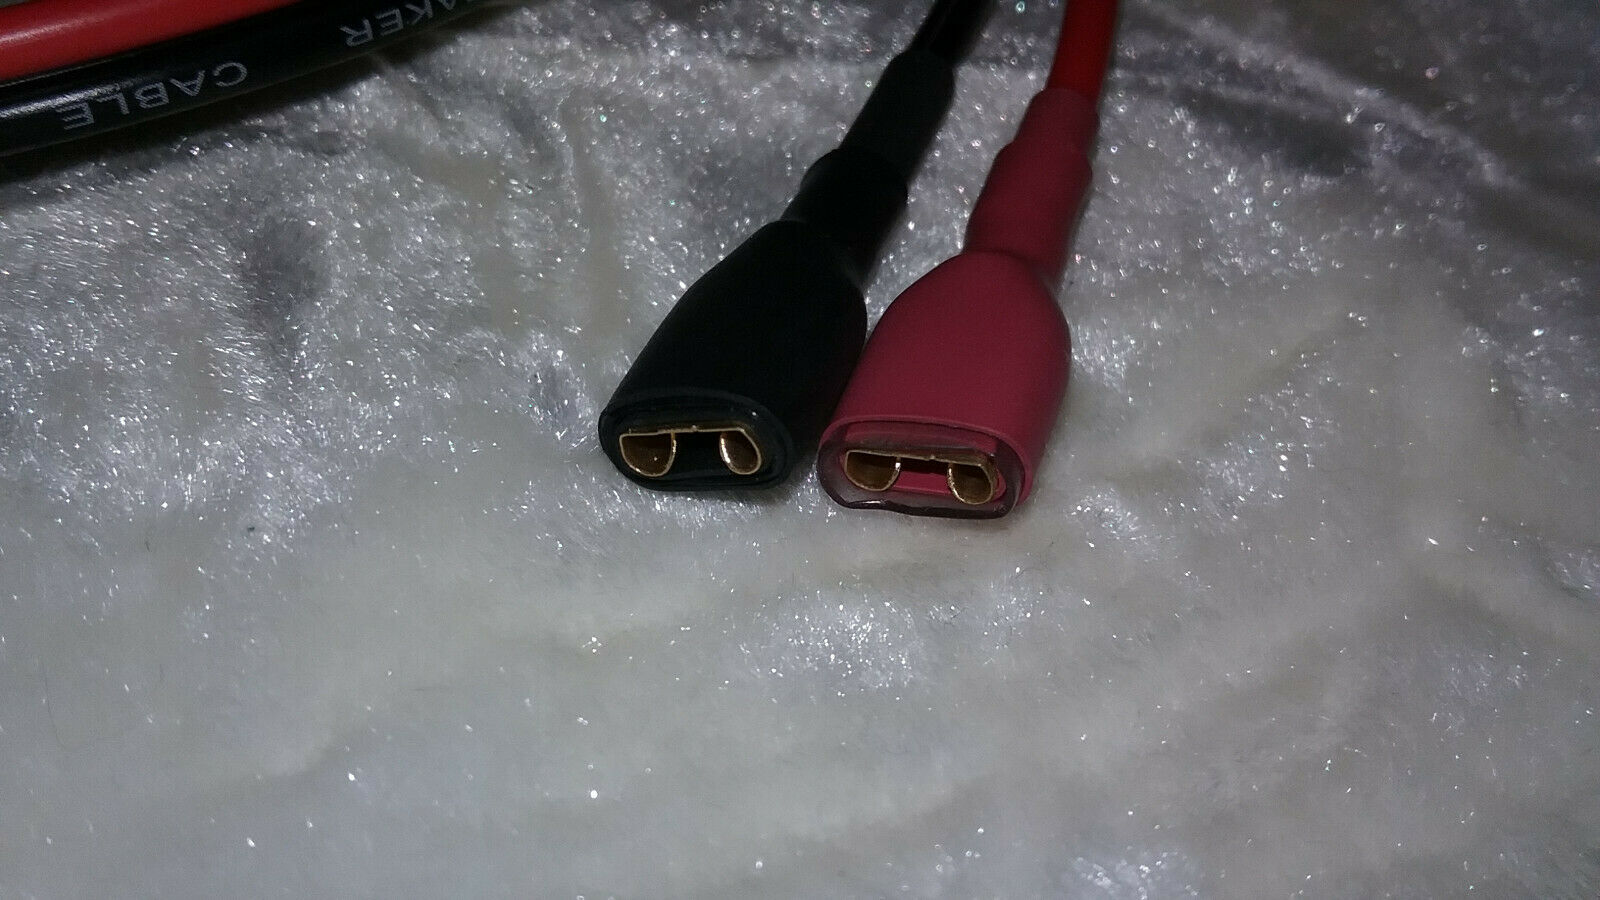
Each Harness is hermetically sealed in medical / food grade heat shrink for your safety
This harness will work with any 1x configuration.
No soldering is required for a proper installation.
This is a simple plug and play harness.
The harness does not affect the ohm load.
Your speaker determines the ohm load.
Designed for use with any speaker cab.
Made with
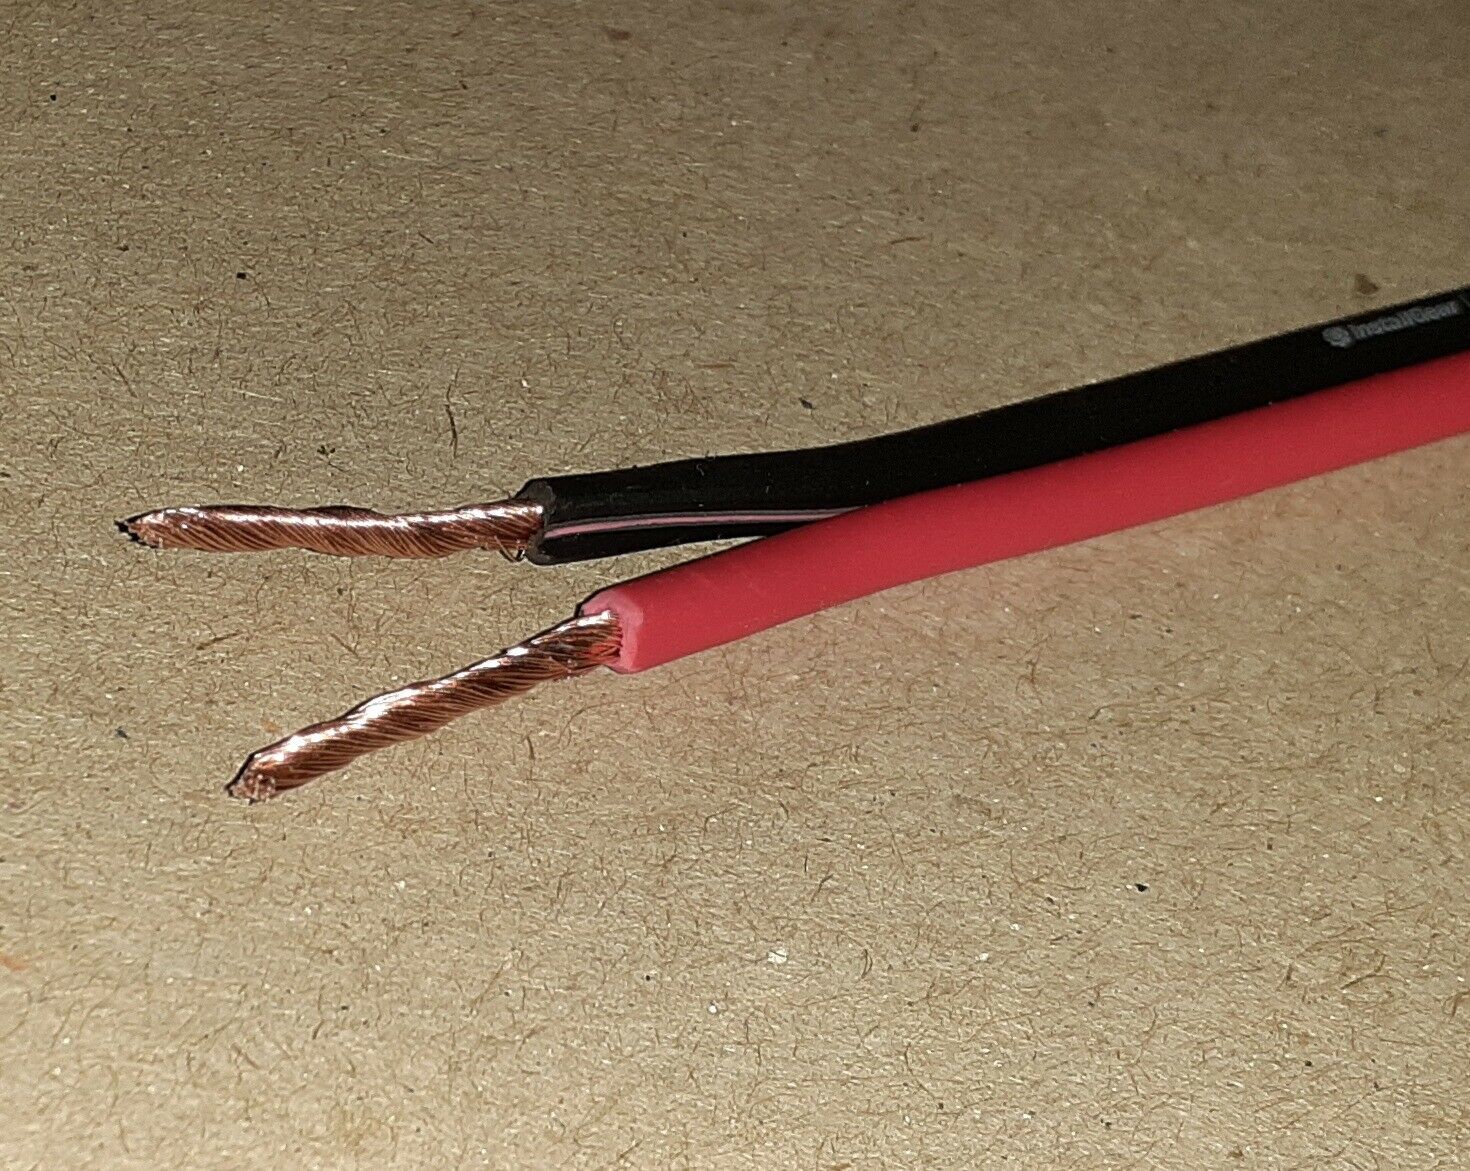
14-gauge OFC pure copper, high strand count speaker cable.
We hand wire and solder every harness with silver solder.
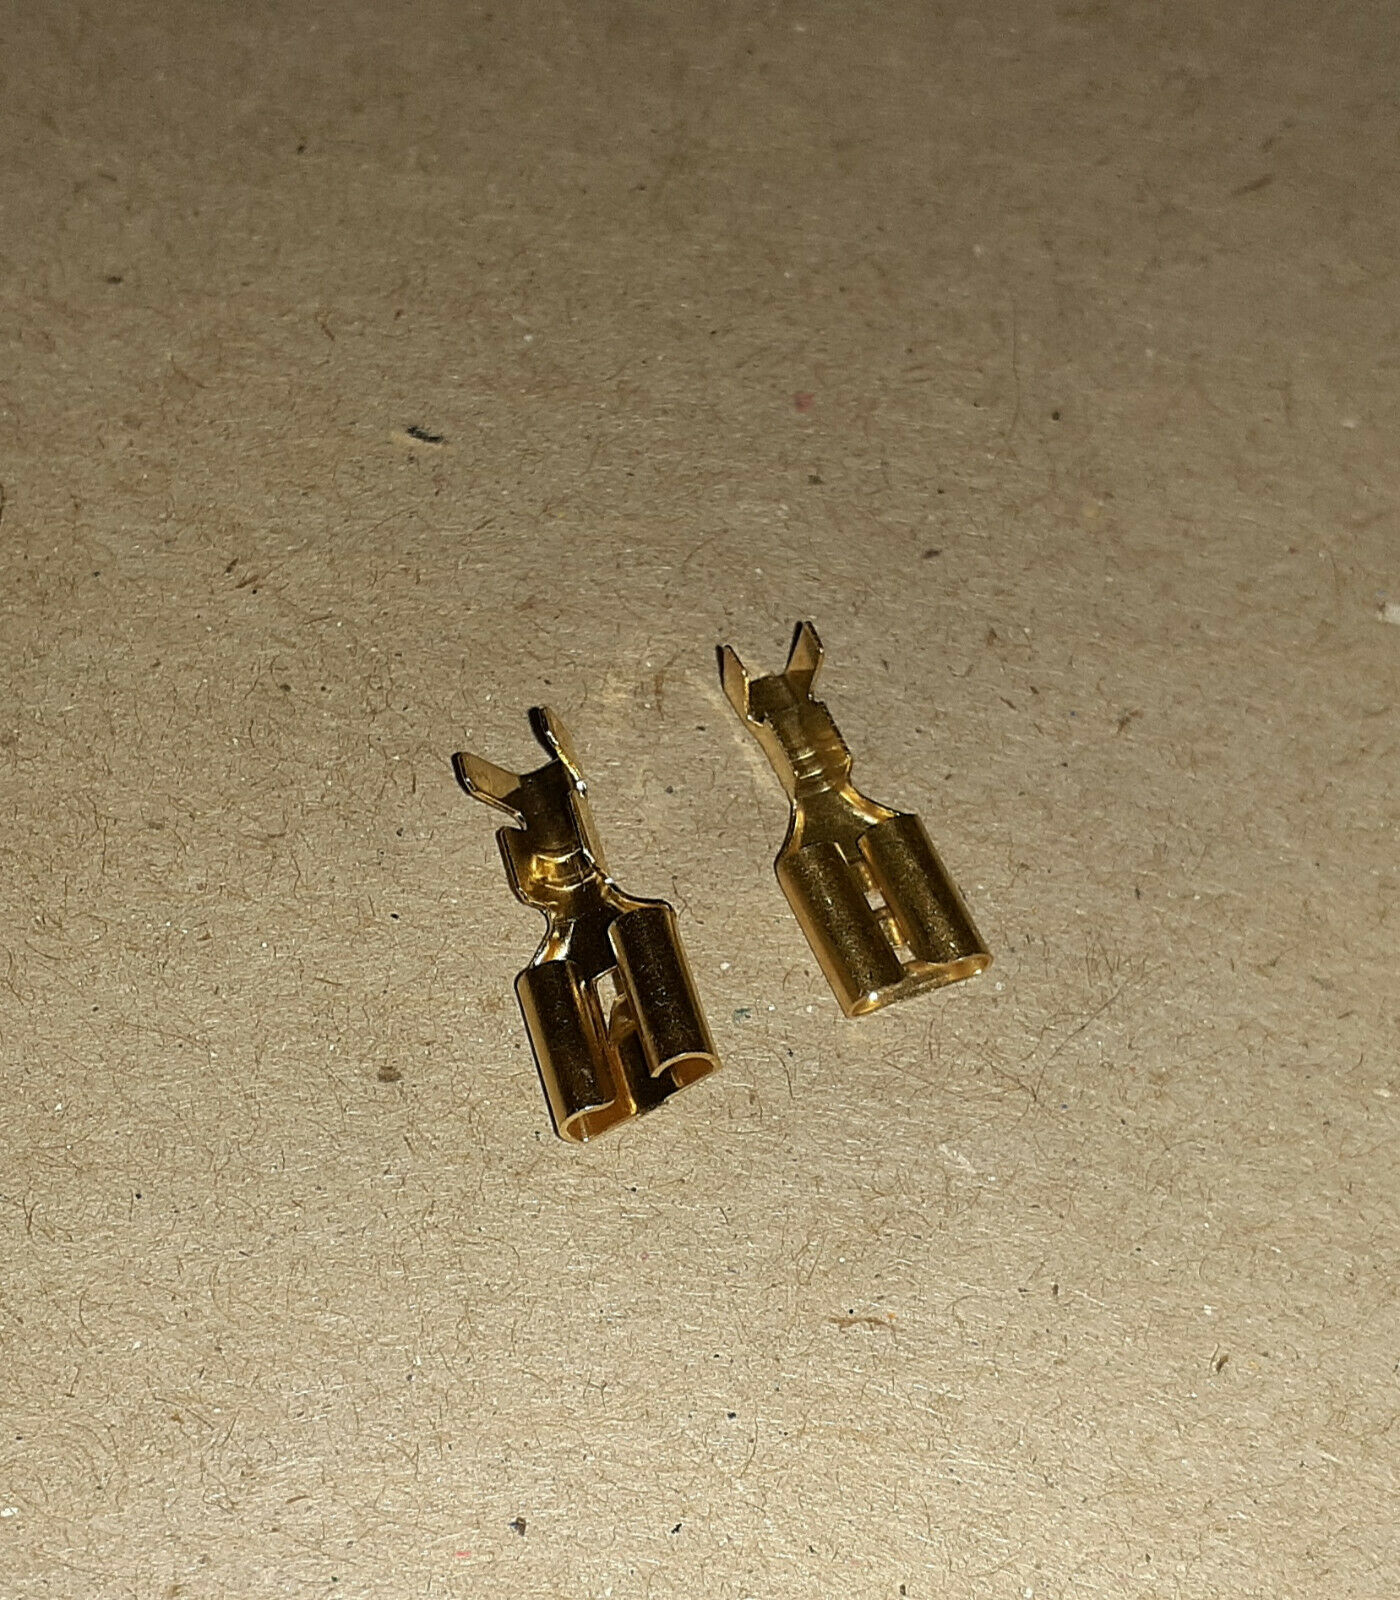
This harness comes with gold plated quick disconnects heavily heat shrink wrapped
Positive
+
&
Negative
–
(
+
is the
Red
clip and
–
is the
Black
clip)
The diagram for this is the last picture in the row of pictures.
Ready to install with quick disconnects soldered to the wires.
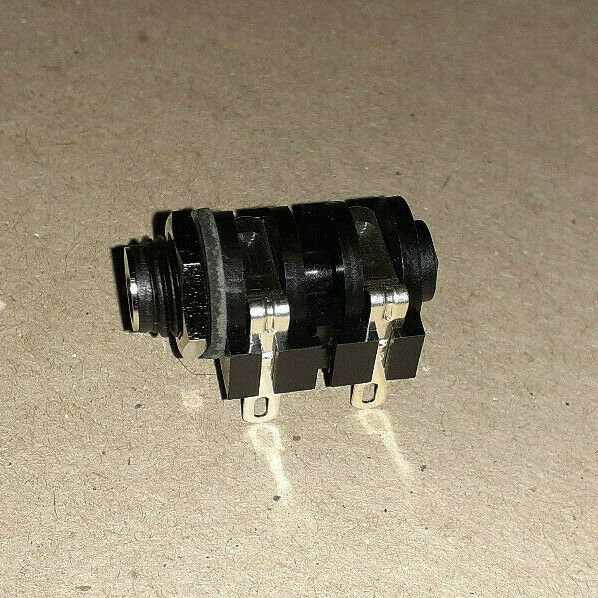
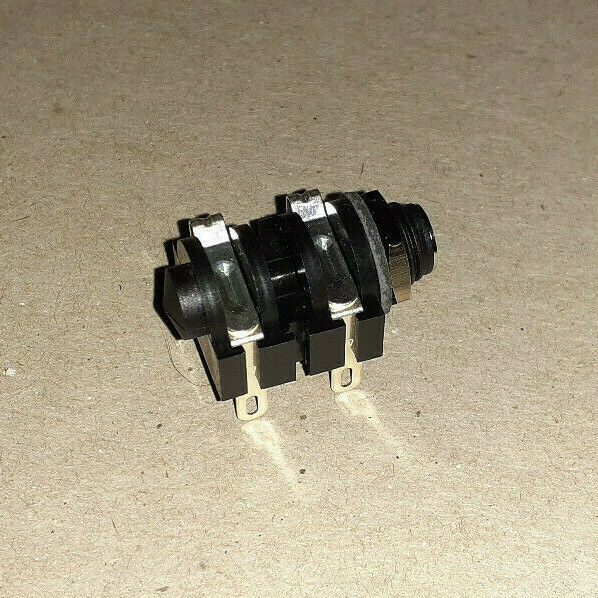
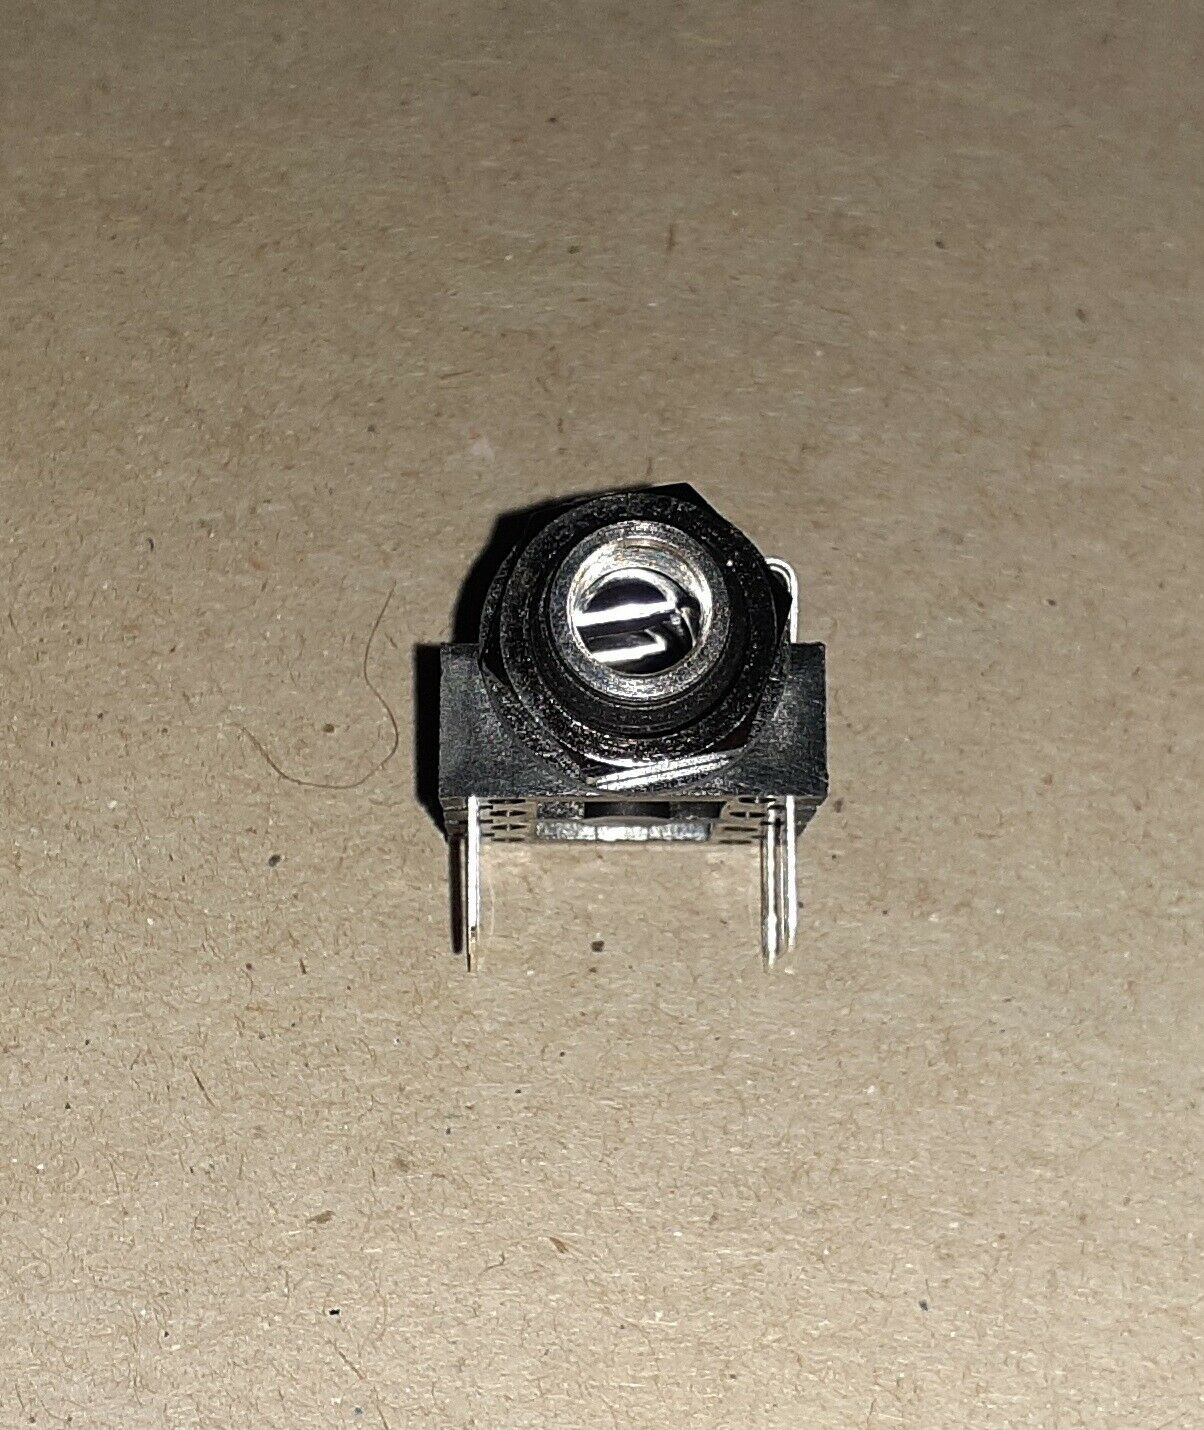
We use the best input jack’s available.
Built with 28 Inches of cable for an easy install.
All terminations are sealed and protected for added durability.
Made with tight quality-controlled manufacturing standards.
Terminations are of 100% consistent physical reliability.
Heated to 250°F for a skintight, flame retardant & flexible fit.
Water & condensation proof at vastly different temperature ranges.
MIL SPEC = essential technical requirements for items manufactured to military standards.
This harness will wire:
One 4-ohm speaker to 4 ohms.
One 8 Ohm speaker to 8 Ohms.
One 16-ohm speaker to 16 ohms.
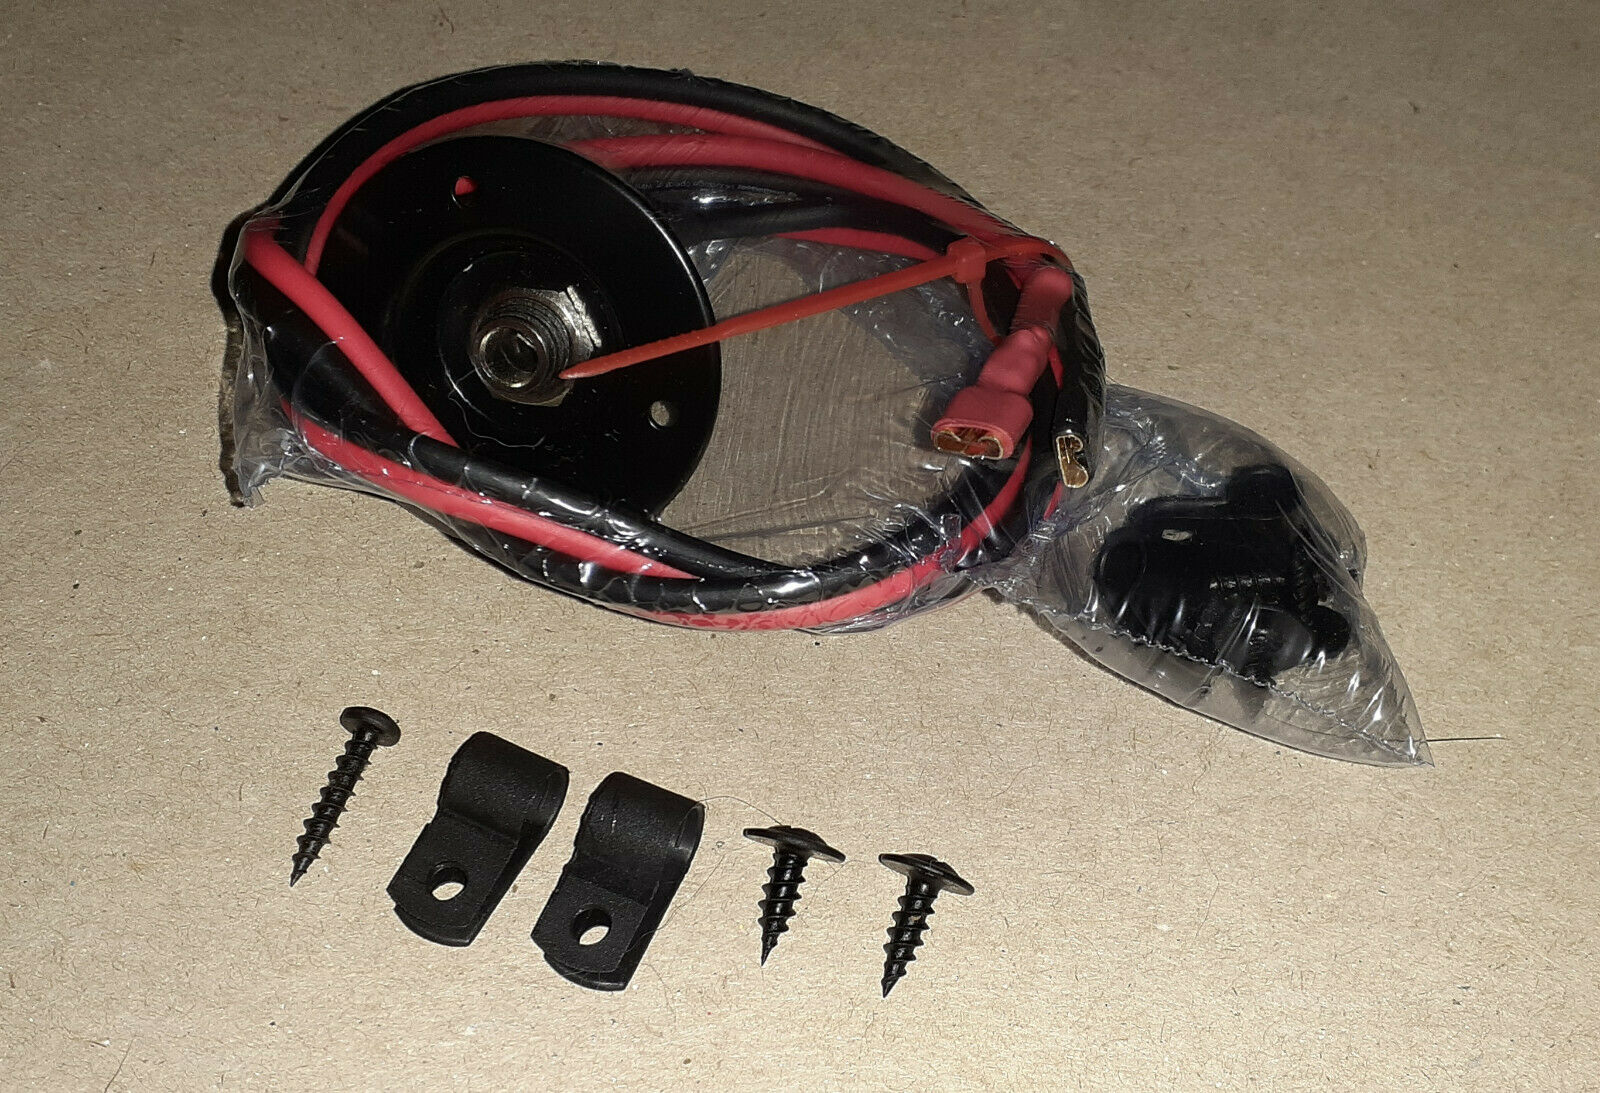
This harness includes:
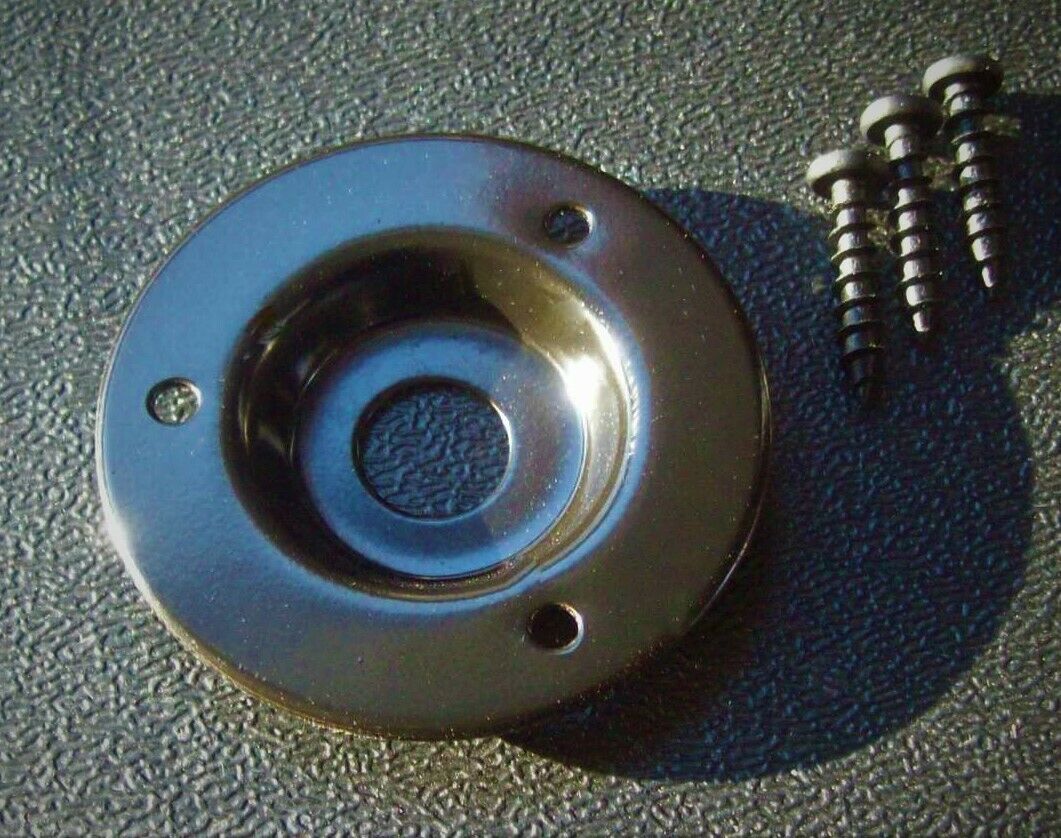
A Steel Jack plate cup with professional black mounting screws.
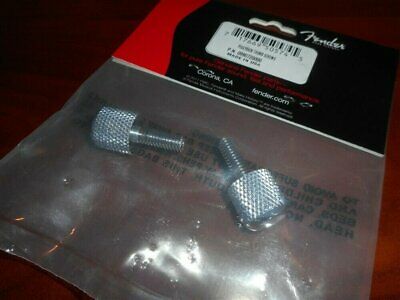
cable clamps with mounting screws.
Full Chrome plated bore Input jack.
28″ cable with Gold plated heavily insulated quick disconnects.
All terminations completely sealed.
All the parts of this wiring harness are made in the USA with the same top-quality materials we use in our premium guitar and bass speaker cabs. All EarCandy harness systems are equipped with our “Cable retention system” technology, not found in the cheap switch craft inputs!
The input jack features a full metal bore and 9/16″ Chrome plated steel nut. This 1/4″ (6.35 mm) jack uses heavy duty contacts that deliver top quality signal transfer performance with a heavy-duty chassis that excels in professional audio applications. The quality of this harness far surpasses anything one E-bay. We use PURE copper not CCA (Copper clad aluminum) combined with Amphenol chrome line barrel inserts with10,000 uses compared to the inferior switch craft units. Our Amphenol inputs cost .50 a piece and come with a lifetime warranty.
These are designed and built by America's leading expert on wiring harness's, there is no better, your satisfaction is guaranteed or we will issue you a full refund.
These typically come with . 250 quick discount spade female connectors with a generous 24" of high end American made pure copper, we also have .187 quick disconnect connectors available on request. just let us know what you need.
We also have a 2x parallel, 2x series, 4x series parallel, stereo mono combo and several other wiring harness / problem solving harness products. Please check our other listings for these variations.
Thank you for checking us out!
**Hand made with silver solder in Indiana USA by EarCandy LLC**
Here is a small instructional on how to properly drill the hole for the jack plate.
If you are somewhat experienced in wood working you can ignore this. If this is your first time installing one of these jack cups and the hole is not already in the cab panel, this article will be helpful.
Get your safety glasses on…
The best way to get the proper sized hole for your new wiring harness jack cup is to drill a pilot hole all the way through the panel with a 7/64” (0.1094”) or 2.7781mm drill bit.
Now get a 1 1/8” (1.0000) or 28.575mm spade bit, (do not use a forstner bit) and gently place and hold the very end point of the spade bit in the pilot hole, do not press down.
Now get the drill up to full speed
(make sure the panel is held securely in place), and gently press down into the panel with the spade bit spinning
at full speed
. Gently ease the very tip of the spade bit down into your pilot hole. Start drilling out your jack cup hole until you have removed about half the depth of the thickness of your panel then remove the spade bit from the hole and disengage the drill.
Do not drill all the way through to the opposite side of the panel, doing so will cause tearing and splintering on the opposite side. You will want to flip the panel over and start over again Gently ease the tip of your spade bit down into the pilot hole and engage the drill up to full speed, start drilling out your jack cup hole until the spade bit meets the hole you previously made on the opposite side.
Following these steps will produce a nice clean, perfectly round hole for your jack cup.
